Let me introduce you to a couch table so simple, that I feel I didn't create the design so much as discover it.
It started out as an obsessive conviction that it was possible to make a very stable, minimalist couch table that didn't need an apron for rigidity.
To add to the challenge, I wanted to use it as a bench when needed, and the first version was built to support the weight of 3 people. It worked great, so I later built two shorter versions that could seat two and had thinner tops that the first one.
Since a couple of friends have already asked me for the plans with the intention of building their own, I'm posting a summary of the design and the build.
Since I get to name it, I'm calling it the Züri Dësch, after the city where it was conceived, and the Luxembourgish word for table.
Here are two specimens:

July 2021 update: I've built the 4th table by now, and I can confirm that it's possible to do with only handtools and a circular saw.
the design
The table should:
- only have five parts.
- be sturdy enough to carry the weight of people sitting on it.
- be possible to build with semi-basic tools in a small space.
- be fast and simple1 to make.
- look good.
Skill-wise it's easy, but not a completely trivial build, mainly due to these long dovetails attaching the legs to the top.
However, I think anyone with a bit of experience, diligence, and some tools should be able to build one for themselves. For reference, this beautiful mess was my bedroom workshop in which I made all three tables.
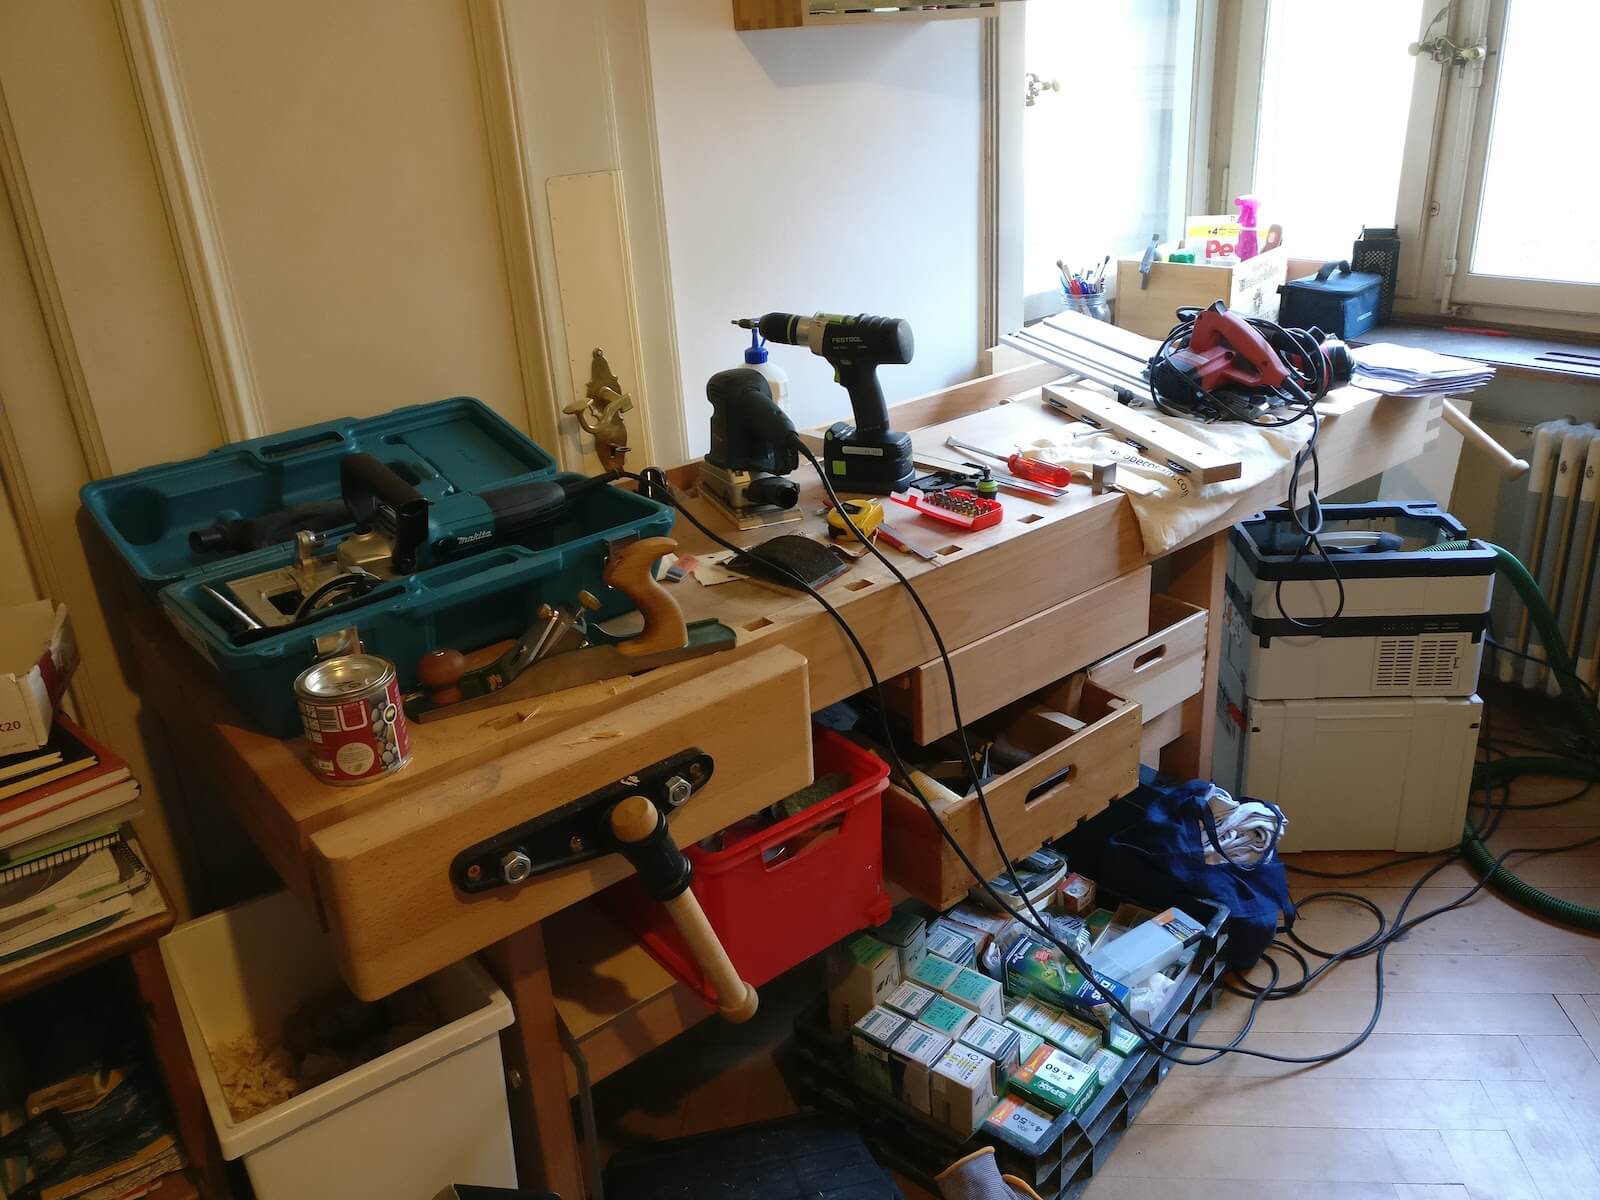

To achieve the criteria above, the main idea is to use legs that are quite long in the "depth" direction, and insert them into the top with a long dovetail with a lot of surface area for glue.
When done at an angle, this provides the necessary rigidity, without leaving any serious weak-spots on the connection between leg and table top.

Using a couple of these tables for a few years now confirms that you can sit on them, rock back and forth and abuse them in lots of other ways, and they don't seem to mind.
make your own
prep
What you'll need:
- a couple of boards of the (hard)wood of your choice. I've tried ash and oak.
- a way to flatten2 and join boards to make the top.
- one or two wide woodworking chisels.
- a saw - I recommend a circular saw. Alternatively a japanese handsaw if you're confident you can make a straight cut with it. The latter are quite affordable, and amazing.
- something to measure and draw angles (like a sliding T bevel + protractor).
- 2 clamps, as long as your table is wide.
- glue.
- sandpaper or a power sander.
- oil to finish.
- pencil, tape, a square, you know the drill.
Optional:
- card scraper for surface finish.
- handplane to thin the legs, chamfer edges and flatten the top of the legs sticking out.
- small router to chamfer edges and remove material for the dovetail (haven't tried it).
- a jigsaw or a bandsaw to help cut the dovetails (haven't tried it).
- a table saw, especially for cutting the legs.
Ok cool, let's get started! You will roughly have to do the following:
- decide on the measurements you want, make your own drawing/plan.
- get the materials.
- plane the stock, glue up the boards for the top.
- cut the tapered shape of the legs.
- cut off the corners of the table top.
- lay out the dovetails on both the legs and the table top corners.
- cut the dovetails (this is the tricky part).
- optional: pre-finish your parts by sanding and oiling the exposed surfaces.
- glue up.
- plane everything flush, chamfer, sand, oil, done.
Good? Good. Here is an image so you can visualise the whole thing:

3D Plan that you can download below.
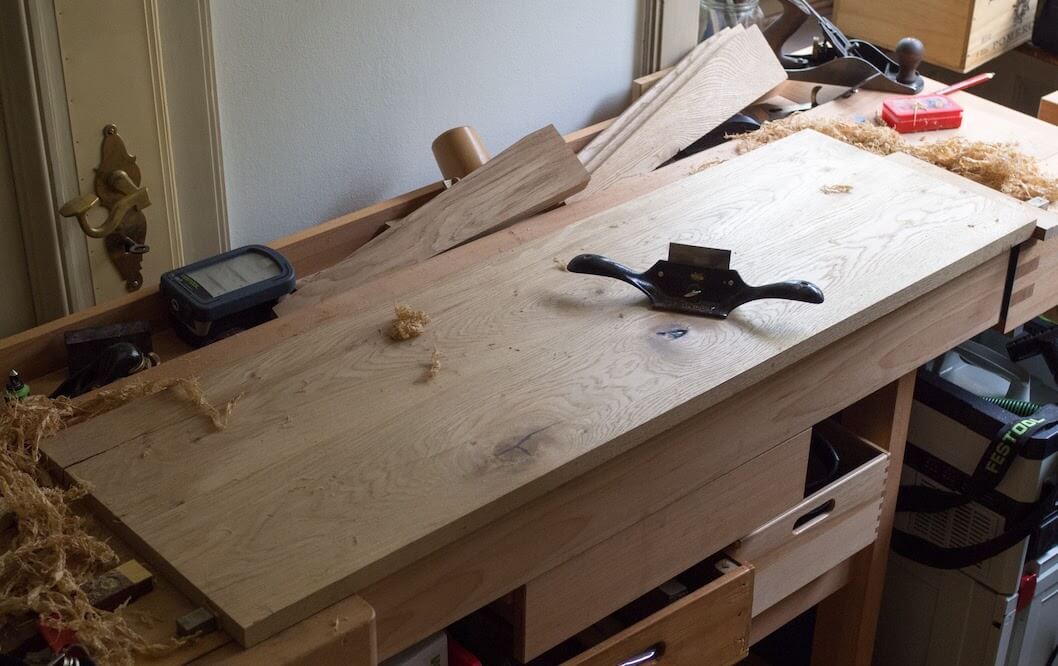
top
Plane your stock to the final thickness and make the edges square.
You should know how to make join boards to make your top slab. Here's my poorly-lit version of that. Ignore the hardware2, four clamps would do the same:

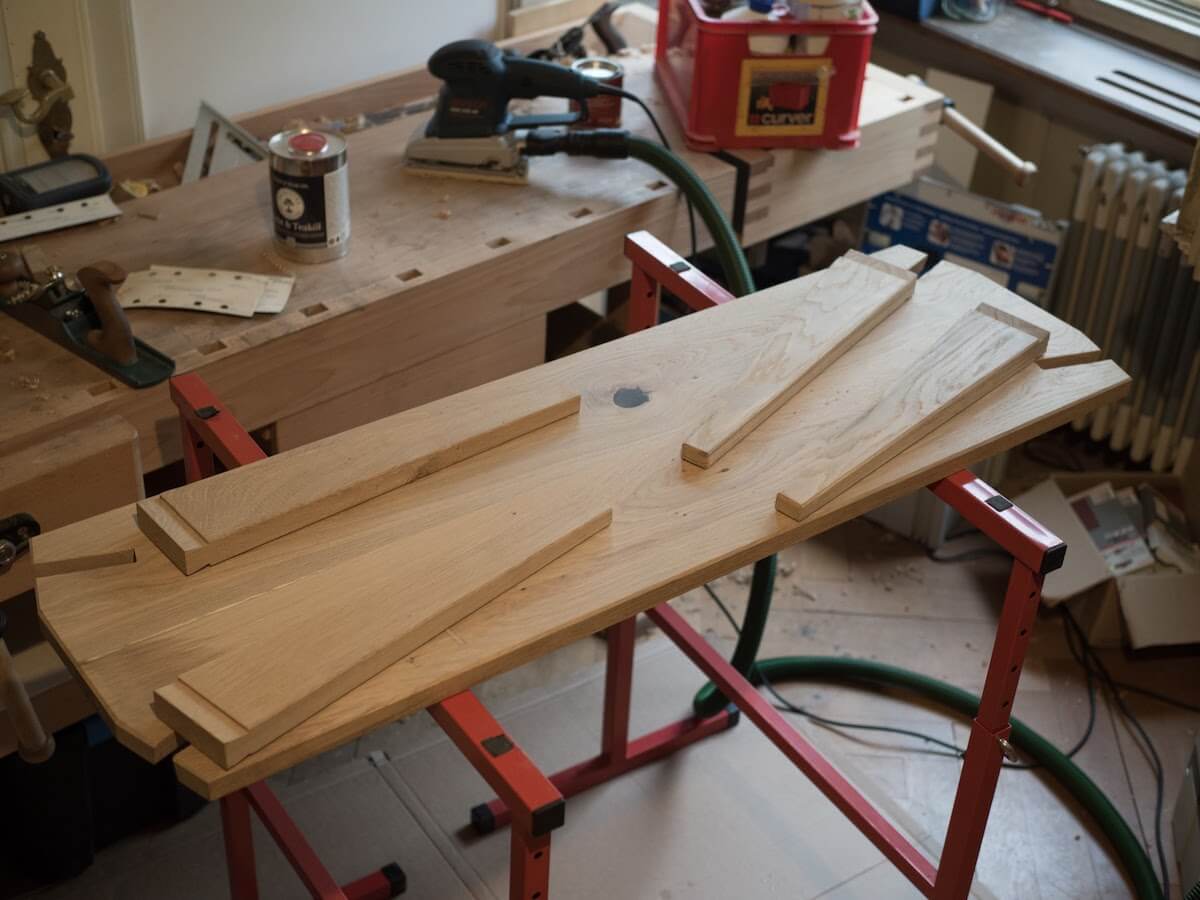
legs
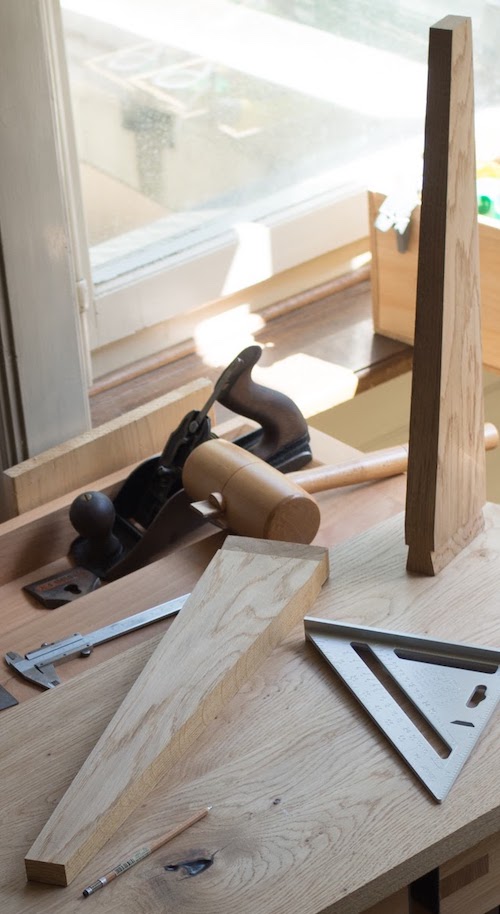
The tapered legs are a bit tricky and I suggest you get access to a table saw. If you don't know how to make long cuts at a steep angle, search for instructions on table saw tapered cut.
After cutting the big taper on the back of the legs, I also tapered the sides of the legs with a handplane. Thinning them towards the bottom makes the difference between the table looking crude or elegant, so I'm a big fan of that.
Congratulations, you now have all five pieces needed! Hopefully they are square and flat in all the right places.
dovetails
First, cut off the corners or the top at the specified angle.
Note: his is not a purely aesthetic step, due to the direction of the wood grain: gluing in the dovetailed legs at the specified angle is the best trade-off between (a) the top potentially splitting under lateral strain on the legs, and (b) the top having a weak triangle on the inner side of the leg.
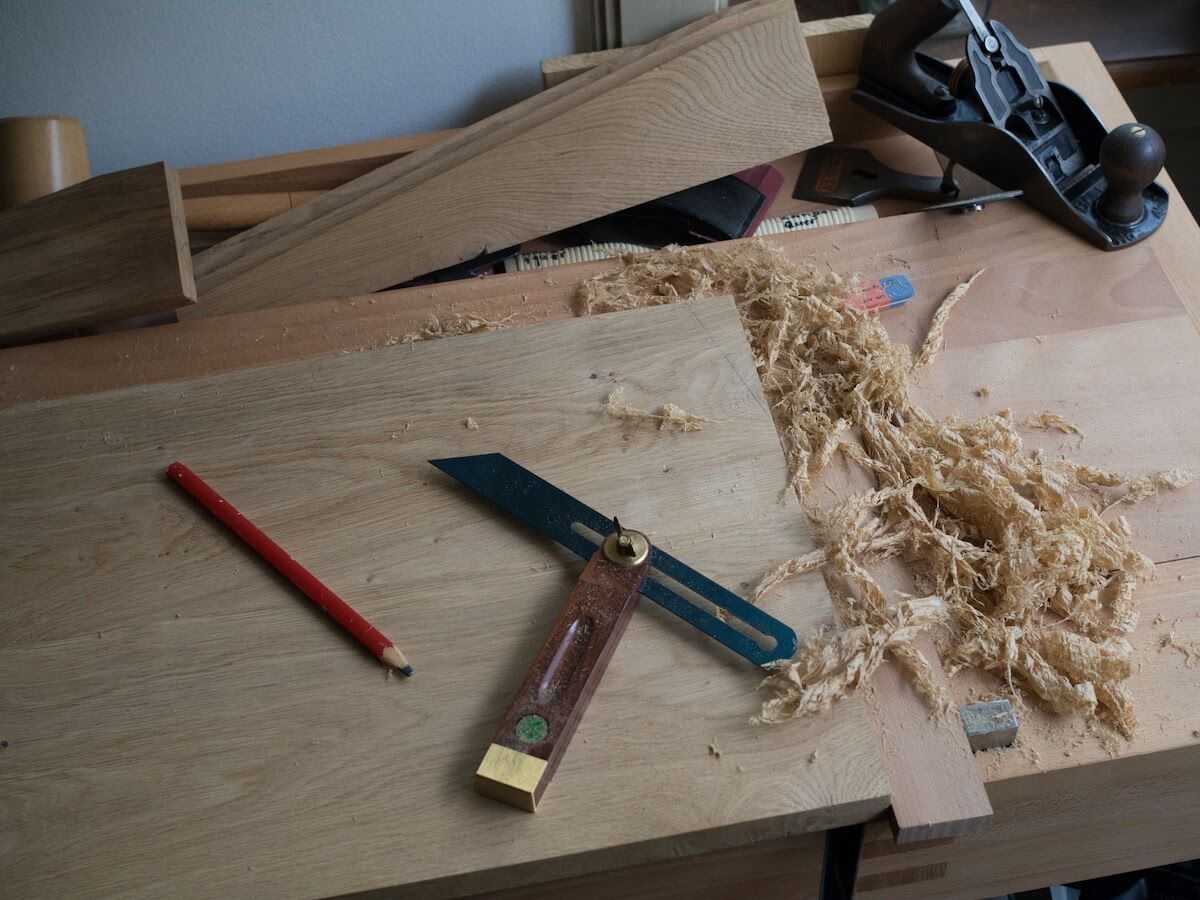
Next, lay out the dovetails:

Cut them out, and do the corresponding thing for the legs. This step is not easy to do gap-free, you'll need some patience and chiselling skills.


See how everything fits together before making your mistakes permanent with glue.
Now is your last chance to sand hard-to-reach spots, and maybe pre-finish the exposed surfaces to help clean out the glue squeeze-out later.
glue-up
Not much to this step, except clamps and making a mess.

finish
The last steps are
- plane the top of the legs flush with the table top.
- sand everything.
- oil the same everything.


download plans
Here are 3D files with the measurements of the best version of the table. I used SketchUp 2017, which should still be available for free online.
- Sketchup - couch_table.skp
- Collada - couch_table.dae
get in touch
If you make your own, I would love to see photos. If you have any corrections, or struggle with some step, then I'm also more than happy to hear about it, so that I can improve the instructions.
You can send me an email at juri@juricho.me.
Minimal materials and easy to build also means that it can be affordable. I care about long-lasting objects being accessible to more than just a wealthy few.
I've seen (admittedly excellent) benches being sold for 2000.- where I live. I estimate that you could churn out a dozen Züri tables in about 3 days with a bit of prep, meaning they could be profitably sold for a fraction of the above.
I went to prep my stock at a community workshop. This gave me access to a planer and a table saw amongst other things. I highly recommend seeking out your local community workshops if there are any near you.